Introduction
Exceptions are deviations from the regular attendance patterns of an employee. Exceptions occur in case of incorrect arrival and departure of an employee, late arrival or in cases when an employee erroneously skipped face recognition. He/she might even forget to check-in or check-out.
Exceptions have been categorized into five different types in the system.
- LAR or Late Arrival exception is generated in the system when an employee is arriving late than his/her usual timings.
- EDP or Early Departure exception is generated in the system when an employee leaves earlier than his/her usual timings.
- IAD or Incorrect Arrival and Departure exception is generated when an employee comes after the regular office timing and leaves before the office timing completes.
- CNC or Core Not Completed exception is generated in the system when Core Hours of an employee are not completed.
- MIS or MIS Punch exception is generated in the system when an employee erroneously misses punch while checking-in or checking-out.
When exceptions occur, an Exceptions list will automatically be generated in the system with the Date, Month, Employee ID, Name, Shift, Recognitions, and other details.
As an admin user, you have the authority to take further action on the exceptions generated in the system for a particular month.
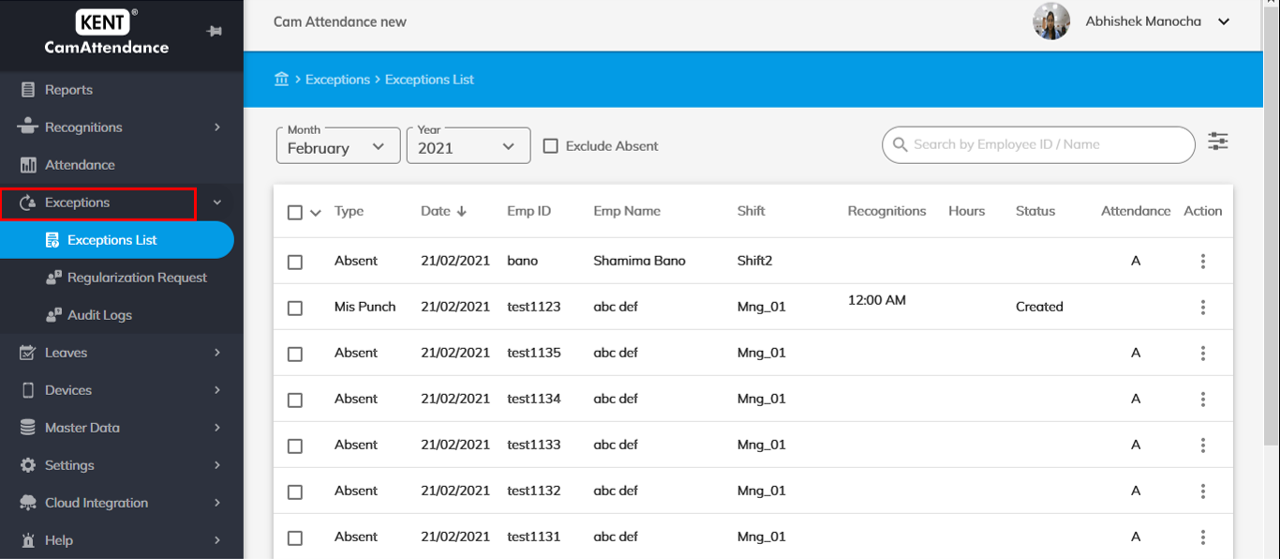
Exceptions List
To regularize an exception, follow the below mentioned steps.
- Go to Home>Exceptions>Exceptions List.

- In the right-hand side of your screen, click on the three vertical dots under Actions.
- Mark P for Present.
- Mark A for Absent.
- Mark Leave for Leave
- Mark HLF for Half-day by Sessions.
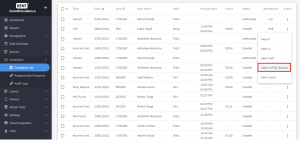
- HLF Attendance / Leaves can be applied in halves or sessions, and these will be the following sets P_L, P_A, L_P, L_A, A_P, A_L and the same would be reflected in reports.
Example:
- An Employee takes Leave for 2nd half and is present in 1st then: P_L
- An Employee takes Leave for 1st half and is present in 2nd then: L_P
- An Employee takes Leave for 2nd half and is absent in 1st then: A_L
- An Employee takes Leave for 1st half and is absent in 2nd then: L_A
- An Employee is Present in 1st half and is absent in 2nd then: P_A
- An Employee is Absent in 1st half and takes leave for 2nd then: A_P
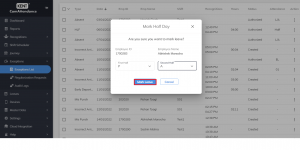
- To regularize exceptions in bulk, tick on the checkboxes one-by-one ahead of an exception.
- Click Bulk Regularization.

- A pop-up will appear asking you the new attendance status. You can Mark Half, Present or Absent. Add a remark and click Regularize.

- In case, you want to exclude records of those who are absent during the month, tick on the checkbox Exclude Absent.

- Search for exceptions in the search bar with Employee ID/Name to locate an exception.

- Set the number of exceptions per page you would like to see clicking the dropdown at the bottom.

- Filter results based on Company, Department, and Status.

- Click Apply at the bottom to apply a filter or Clear All to clear already applied filters.
Regularization Request
Obtain all logs of employees who requested for their attendance regularization from the CamAttendance Employee app in Regularization requests. Admin users can take further actions on these requests in order to accept or reject a request. The status of the request can be seen under status when the action has been taken.
To take an action on an exception request in Regularization request:
- Select Start Date and End Date from the Calendar to check Regularization Requests falling in a specific period.
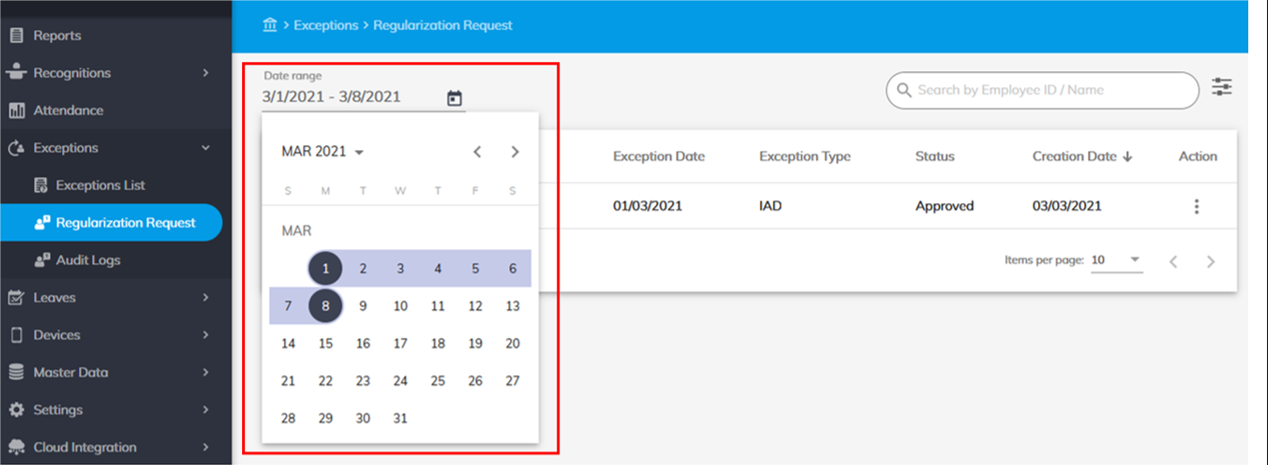
- Click on the three vertical dots
 under Actions in front of the request that you want to regularize. Click Approve or Reject.
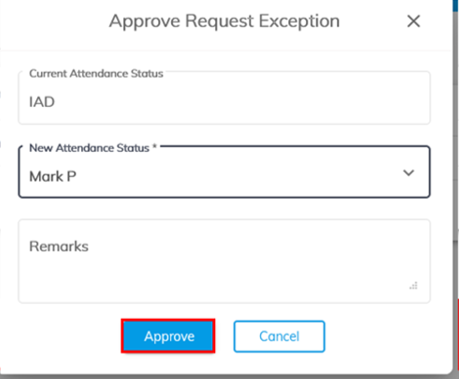
 - On clicking Approve, a pop-up appears asking you the New Attendance Status. Select New Attendance Status from the dropdown. You can Mark P for marking present, Mark A for marking Absent, or Mark HLF for marking a half-day.
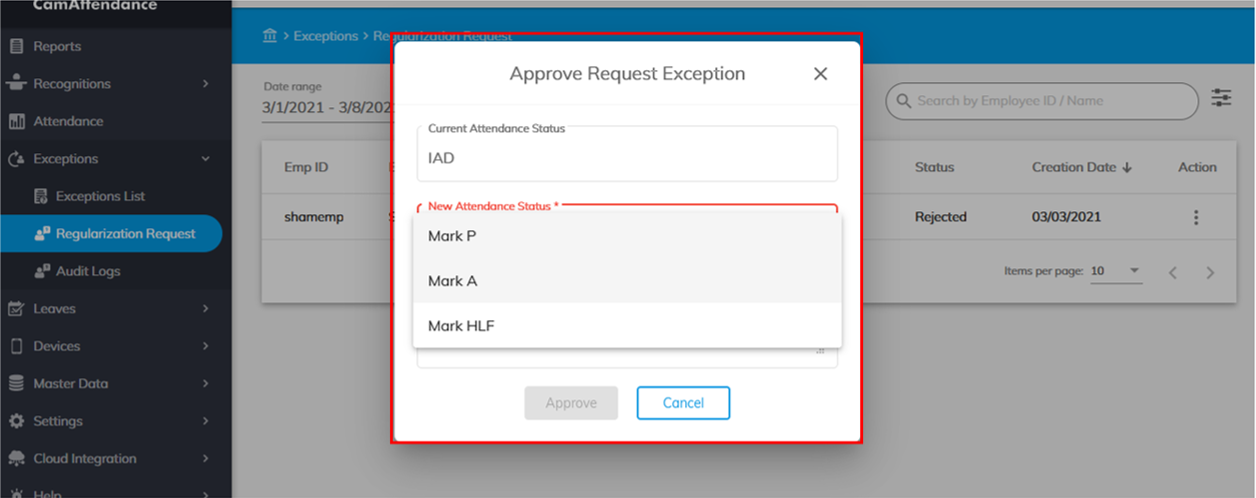
- Add a Remark if any.
- Click Approve. New status can be seen in Audit Logs.
- On clicking Reject, you will be able to the reject the Regularization request. The status of the regularization request will change to ‘Rejected’.

Applying Filters
To filter Regularization Requests:
- Click on the Filter
 icon located in the top-right hand corner.
 - Click Type to filter requests based on types or Status to filter requests based on status.
- Select your preferred option by checking the box depending on how you would like to filter requests.
- Click Apply to see the filtered results.

Search Regularization Requests by Employee ID/Name in the Search bar located in the top right-hand side corner.

Audit Logs
Audit logs contain the list of exceptions whose statuses have been modified by the admin user. Both the old and the new status related to an exception for a particular employee can be seen in Audit Logs.
To view Audit Logs for a specific period:
Select Start Date and End Date from the Calendar. It will display the list of Audit Logs falling in that specific period.

Search Audit Logs for a particular employee by Employee ID/Name in the Search bar located in the top right-hand corner.

See also: