- Introduction
- Employee Recognitions
- Importing Employee Recognitions Data
- Exporting Employee Recognitions Data
- Marking Employee Attendance Manually
- Unknown Faces
- Visitors
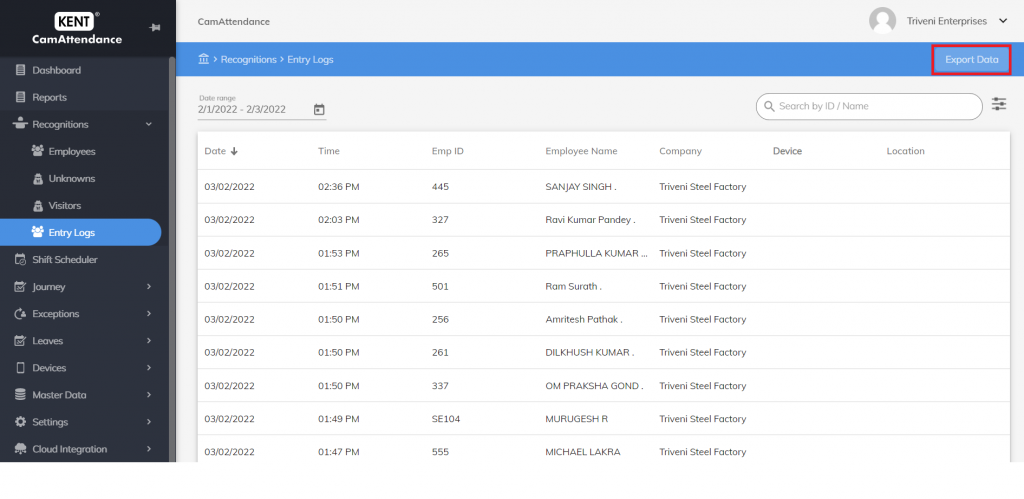
- Entry logs
Introduction
Recognitions contain the transactions data of employees those may or may not be recognized by the CamAttendance device. In simple words, you can view the list of employee faces identified and recognized by the device. The faces captured by the device are primarily divided into two categories:
- Employee/Known faces – Faces captured and identified by the device.
- Unknown faces– Faces captured but not recognized by the device.
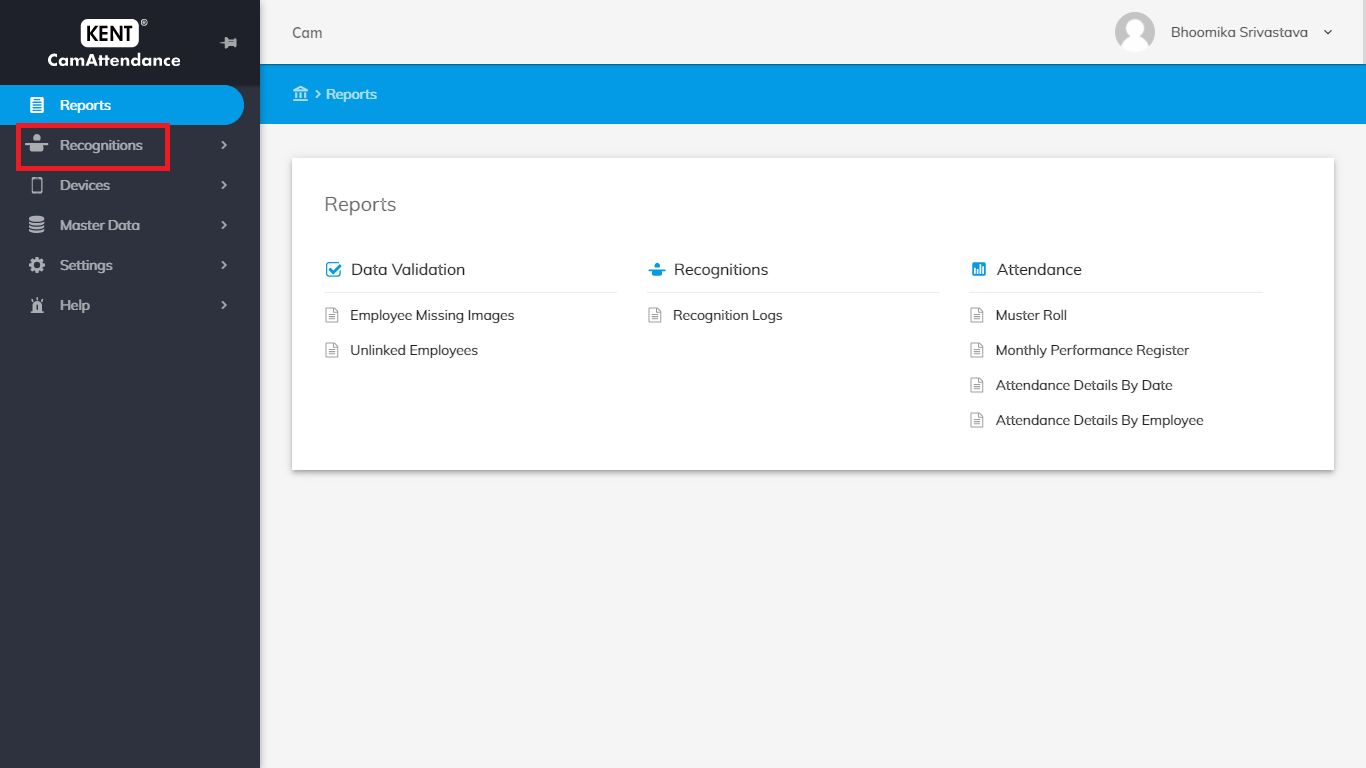
Employee Recognitions
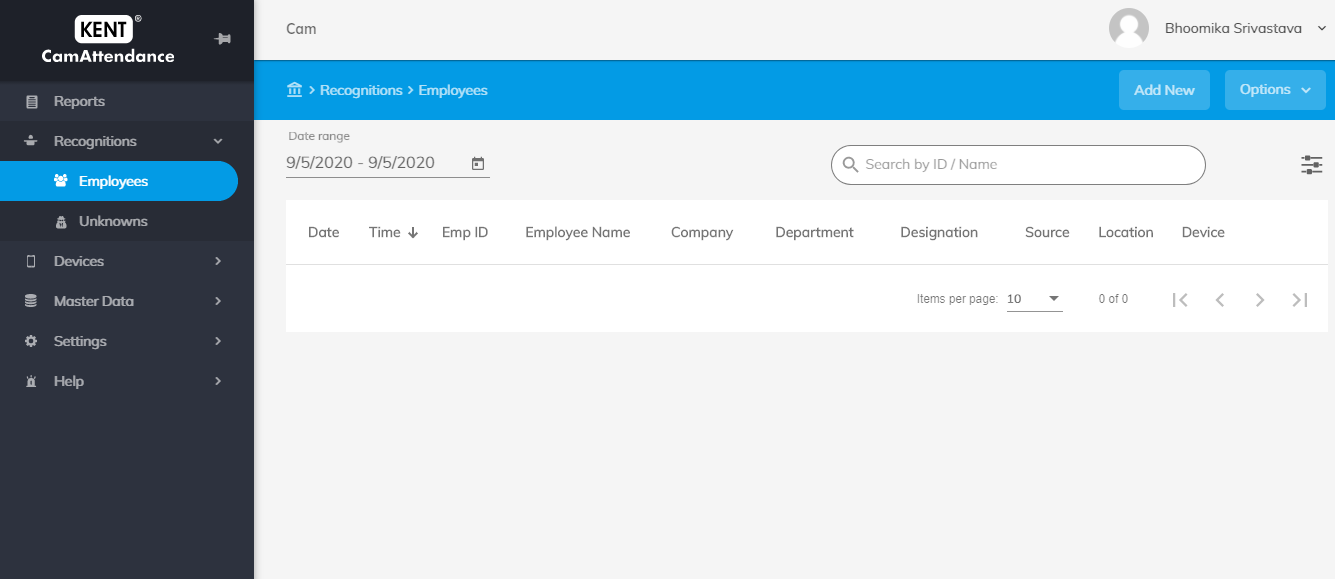
In Employees, you can view the list of employees identified or recognized by each device between desired date intervals.
- Go to Home > Recognition > Employees.
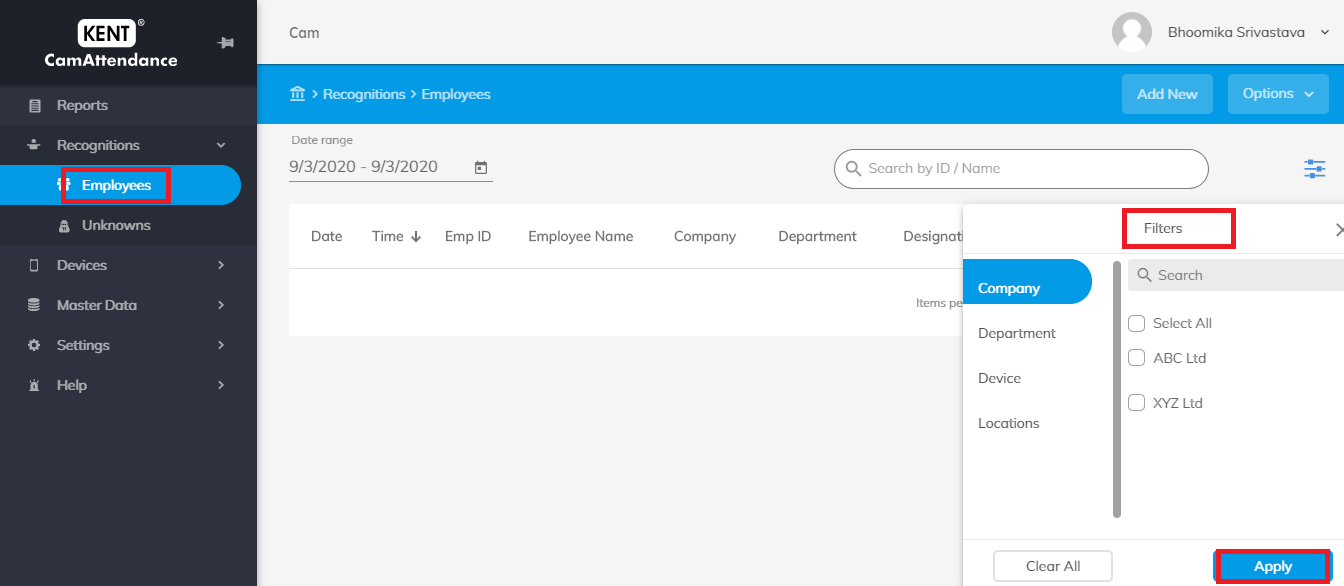
- Filter transactions data based on Company, Department, Device and Locations.
By default, the list displays all the recognized faces.
- Search recognitions by Employee Name/ID in the Search bar located on the upper right-hand side.

Importing Employee Recognition data
To import Employee recognition data:
- Click on Options dropdown in the upper right-hand corner.
- Click Import Data.

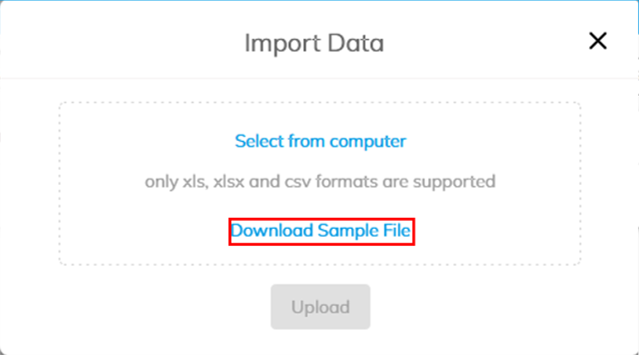
- A pop-up appears. Click Download Sample File to download a sample file and use this file to manually fill all recognition data.
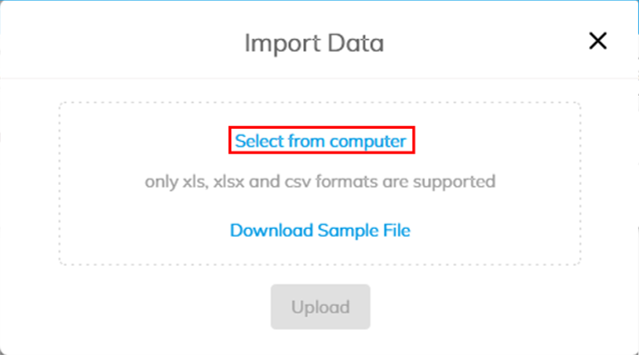
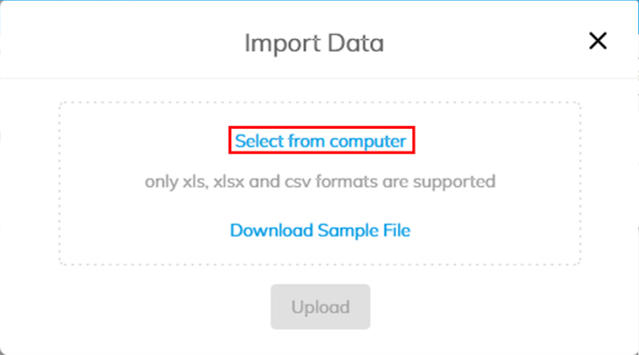
- Click Select from computer to select the file from the computer to upload data once the file is ready. Only xls, xlsx and csv formats are supported.
Exporting Employee Recognition Data
The results can be exported in CSV/XLV format.
To Export data:
- Clicking on Options dropdown in the upper right-hand corner.
- Click Export CSV/Export XLV to get all data on a CSV/XLV file.
Marking Employee Recogniton Manually
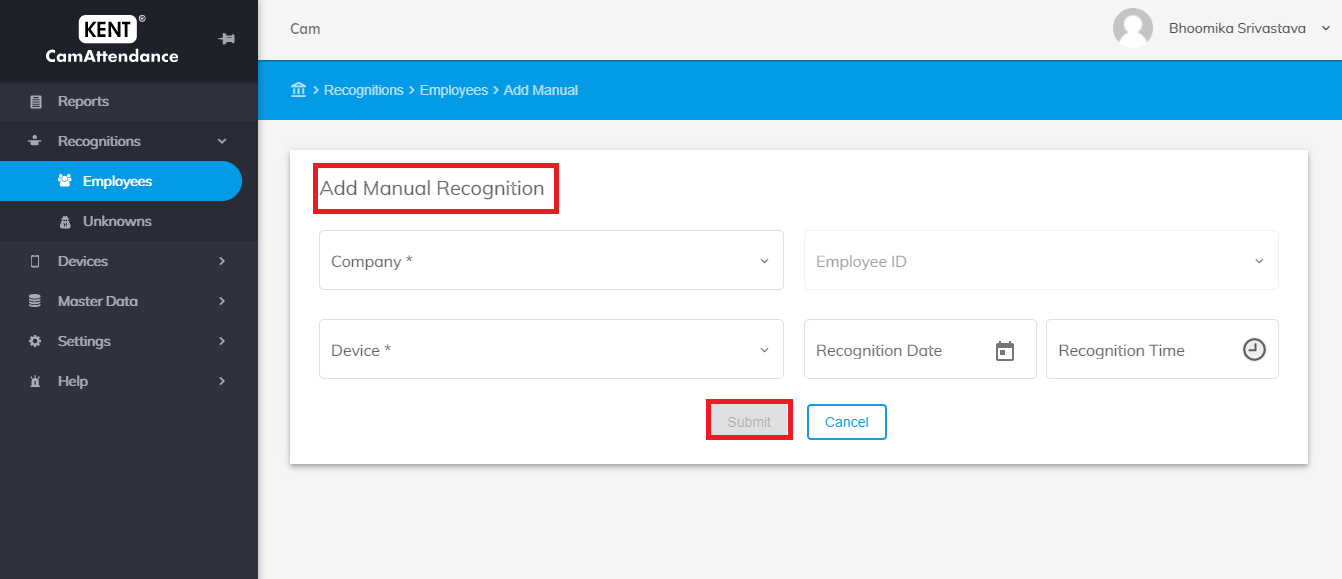
You can add attendance/recognition of any employee manually in case the device shows error for unforeseen reasons.
Steps to recognize employees manually:
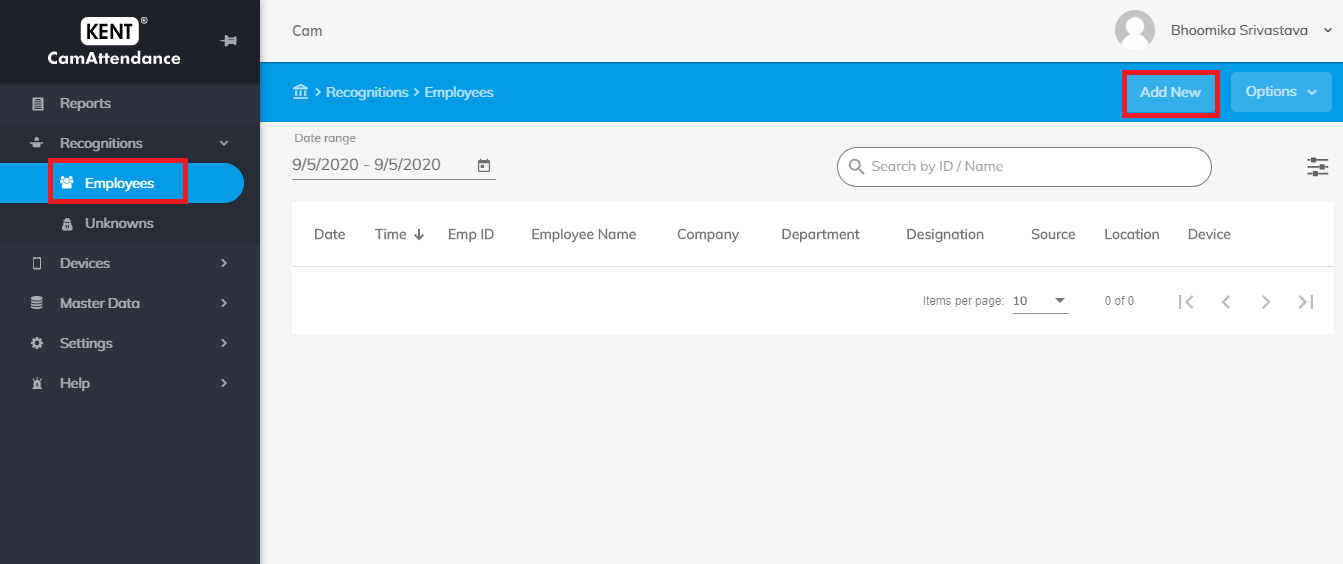
- Click on Add New in the top right-hand corner.
- Select the Company from drop-down list.
- Select Employee ID from drop-down list.
- Select Device.
- Select Recognition Date which you want to mark attendance for.
- Select Recognition Time.
- Click Submit.
Unknown Faces
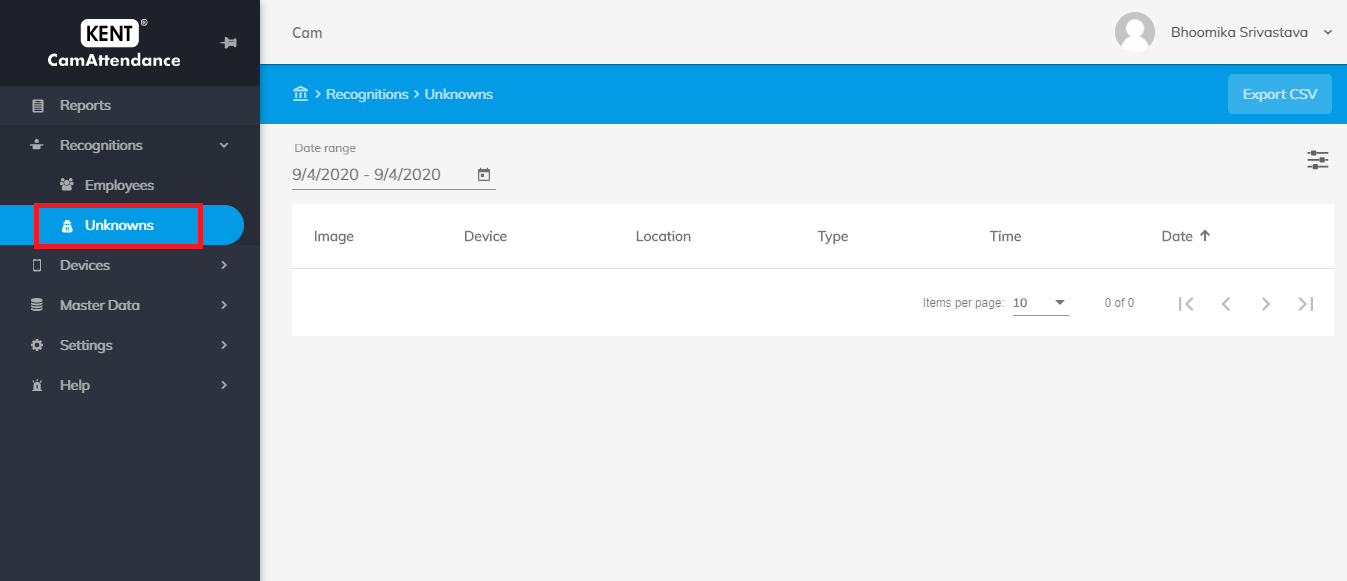
Unknown tab located just under the Employee Tab in Recognitons displays the list of unknown faces captured by a particular device during a certain time interval along with its time and date stamp.
- Go to Home > Recognition> Unknowns to see data of unknown faces or faces that are not added in Master Data yet and the device is unaware of them.
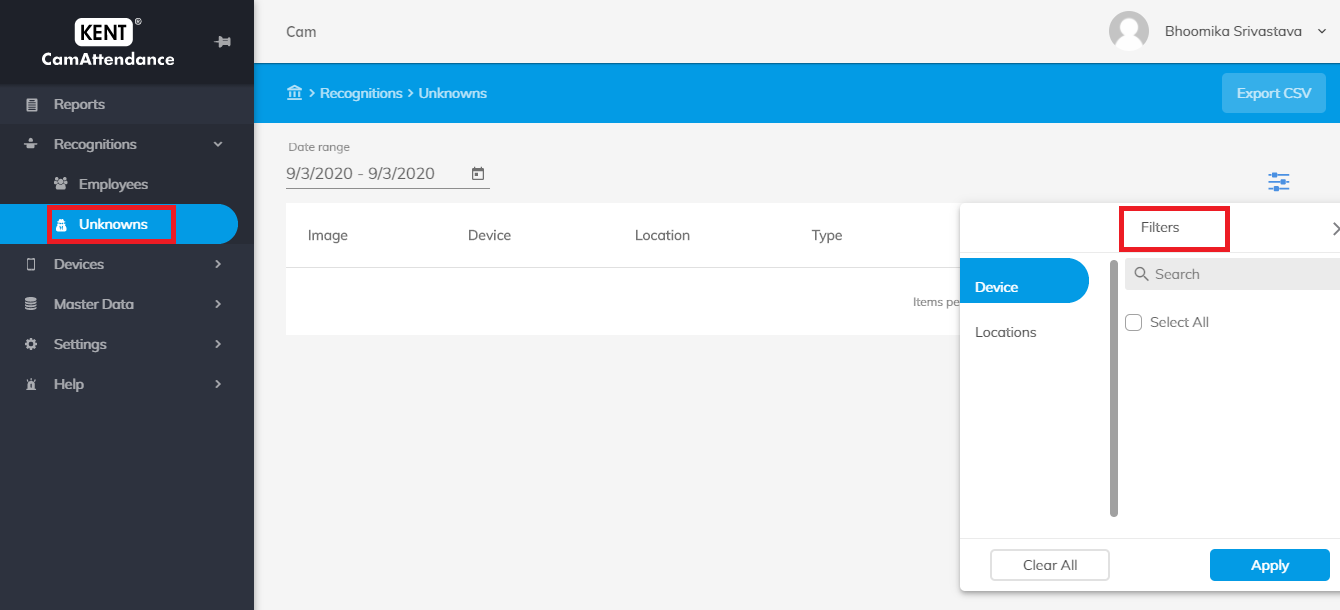
- Filter your search on the basis of Device or Locations.
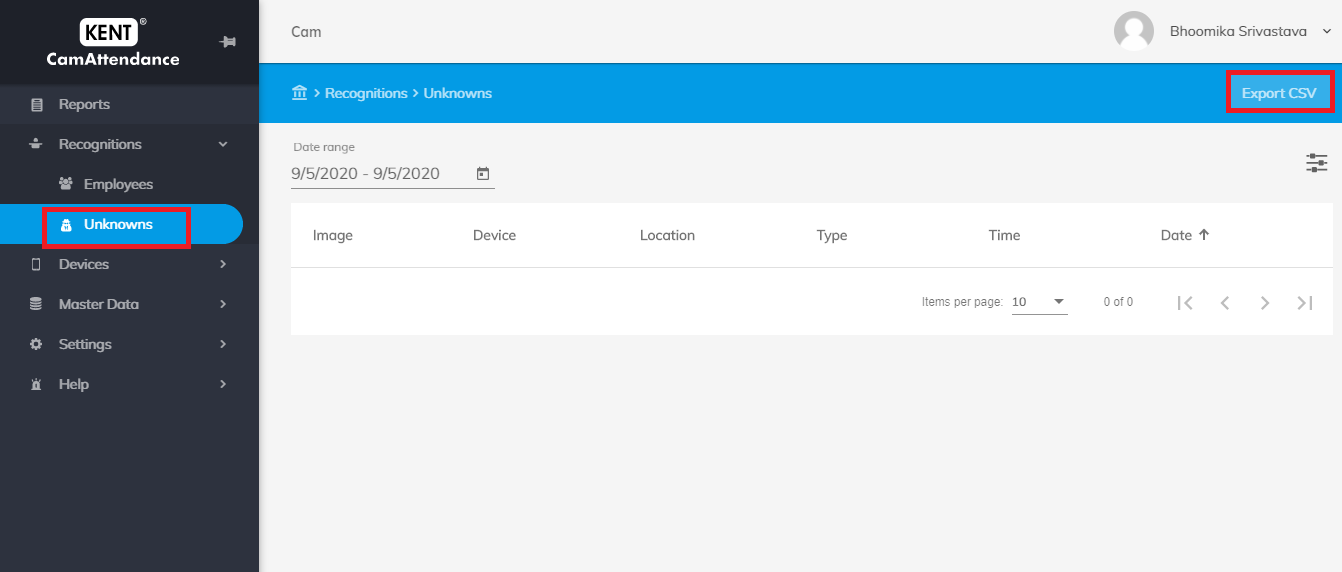
By default, list will display all the Unknown faces.
You can export the list in CSV format by clicking on Export CSV option in the top right corner.
Visitor
- The visitor section under Recognition Logs is basically to convert an Unknown log or a person to a visitor.
- To convert an unknown into a visitor, the client needs to click on actions corresponding to the person that needs to be converted.
- Click on Add visitor.
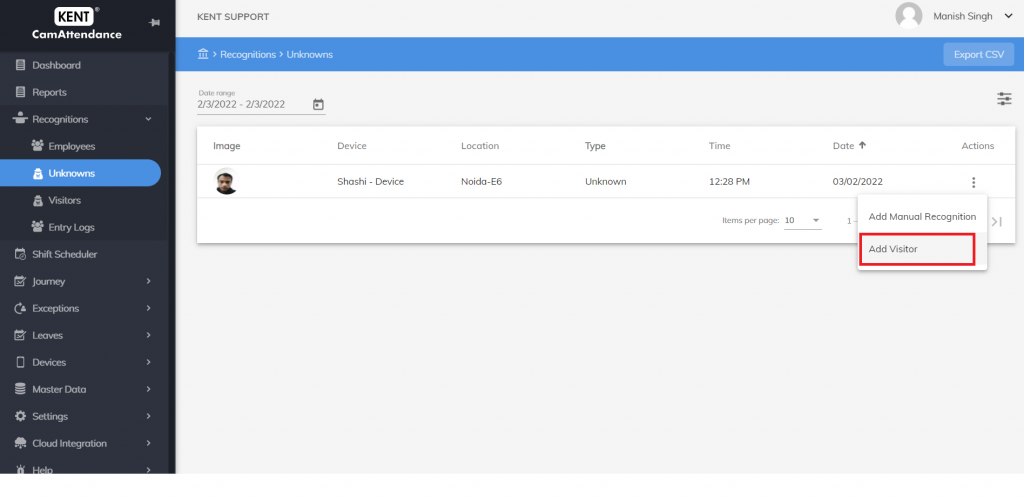
- The visitor will be successfully added.
- The client can also export the Visitor Data.
Entry Logs
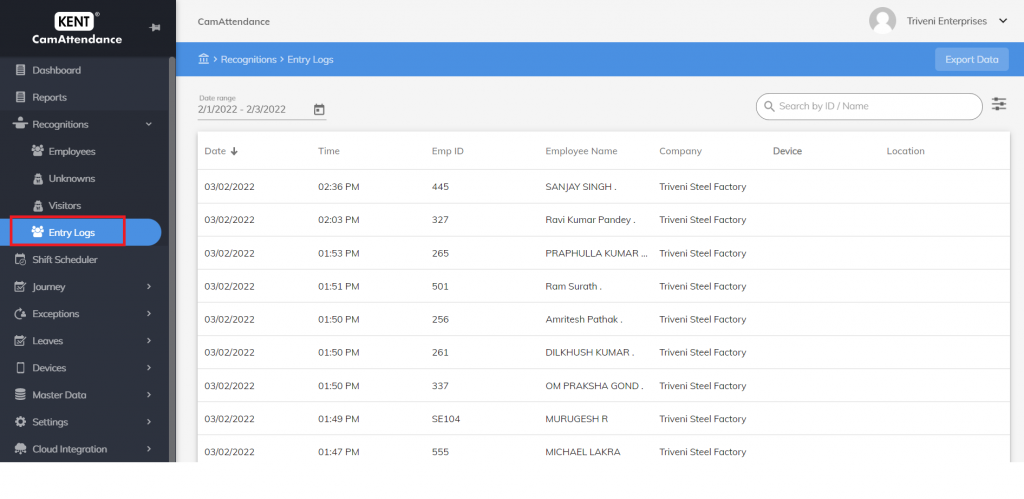
- This feature basically works on Bluetooth Relay. There are three stages in this feature which can be used by the clients according to their needs
- To enable this feature, the Bluetooth needs to be enabled and connection with the Bluetooth relay should be set up with the device.
- The device needs to connect with the Access Logs.
- The following are the three stages:
- Attendance: In this feature, the entry or the access will not be granted but attendance will be marked. The report for the same will be reflected in Recognition Logs> Employees.
- Access/Entry: In this case, the Attendance of the employee will not be marked but the access will be granted by opening the security barrier or door. The data for the same will be reflected under Recognition Logs> Entry Logs
- Both: In this case, the Attendance of the employee will be marked as well as the entry/access will be granted to that particular employee. The record/data will be reflected under both Employees and Entry Logs.
- The client can export the Entry Logs data in the Excel Format by clicking on Export Data on the top-right corner.
